
Categories: AI Video Marketing, Conversion Strategy, Production Workflow
Tags: seeddance, seedance 2.0, explainer videos, video marketing, ai video workflow
Introduction
Learning how to create explainer videos starts with one simple goal: make a complex idea easy to understand and easy to act on. The best explainer videos do not try to say everything. They focus on one audience, one problem, one solution, and one clear next step.
That is why explainer videos keep performing so well across landing pages, product launches, SaaS onboarding, and social distribution. They combine visuals, narration, and pacing in a format that is faster to understand than long-form copy. With modern AI tools, the production process is also much more accessible than it used to be, but the strategic basics still matter most.
1) Why Explainer Videos Convert Better Than Static Content
Explainer videos work because they reduce friction. Instead of asking a visitor to decode a product through dense paragraphs or feature lists, the video shows the problem, demonstrates the solution, and guides the viewer toward a decision.
That format is especially useful when the offer is new, technical, or easy to misunderstand. In those cases, a short, clear video often creates the "I get it now" moment faster than any other asset on the page.
They are also effective because they combine visual and audio cues at the same time. That makes the message easier to follow, easier to remember, and easier to trust when the visuals reinforce the script.
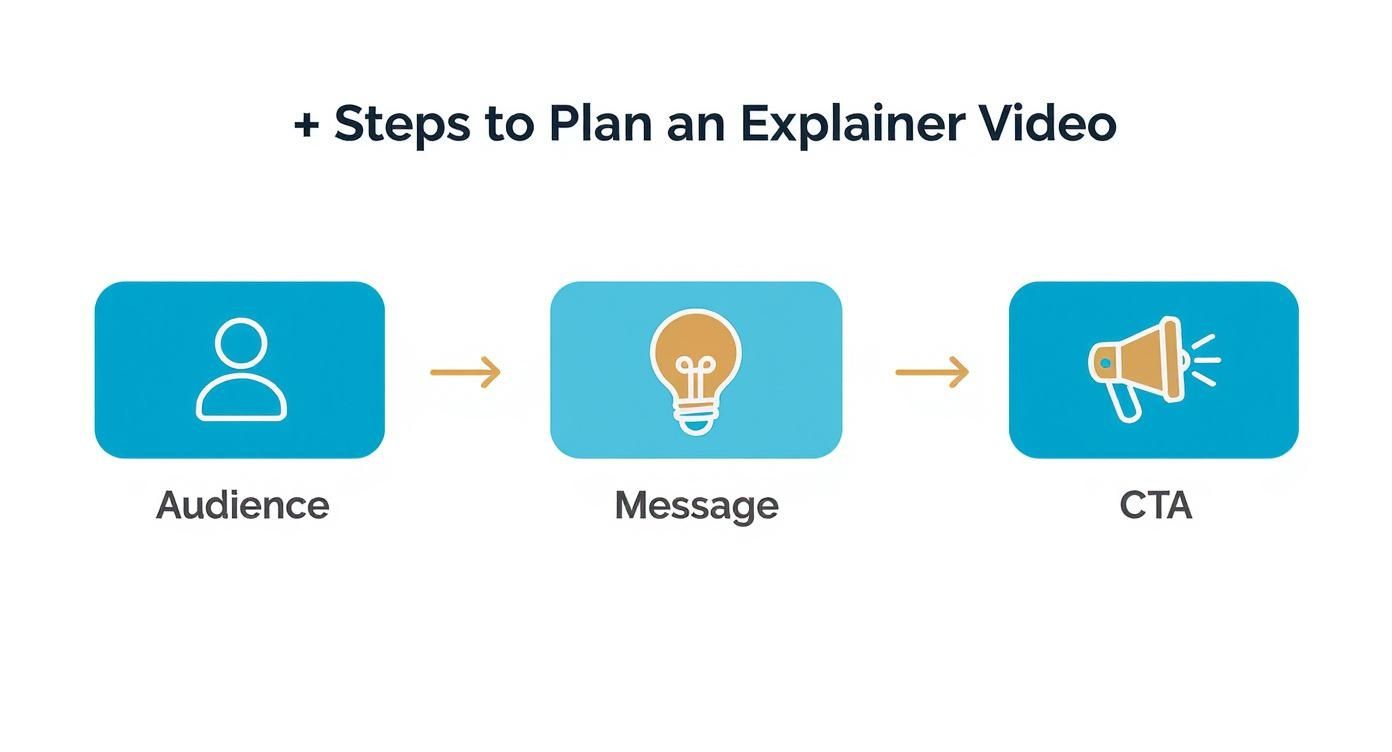
2) Start With Audience, Problem, and CTA
Before writing a script or generating scenes, define exactly who the video is for. "Everyone" is never a useful audience. A high-converting explainer video speaks to a specific person with a specific pain point.
Useful planning questions:
- What problem is the viewer actively trying to solve?
- What language would make the message feel familiar to them?
- Where will they watch the video: a landing page, social feed, ad, or onboarding flow?
Once the audience is clear, narrow the message to one main takeaway. If the viewer only remembers one thing after the video ends, that should be the core promise of the product. From there, the CTA becomes much easier to write because it feels like the natural next step rather than an afterthought.
A strong CTA is specific. "Learn more" is weak. "Start your free trial," "Book a demo," or "Download the template" gives the viewer a direct action tied to the promise you just made.
3) Write a Script Around One Clear Story
A good explainer script usually follows a simple structure:
- Introduce the viewer's problem quickly.
- Show why the old way is frustrating, expensive, or slow.
- Present the product as the solution.
- Show the result or transformation.
- End with a direct CTA.
For most use cases, shorter is better. A concise video in the 60 to 90 second range is usually enough to hook attention, explain the value, and keep the pace tight. If the script feels crowded, the problem is not that the video is too short. The problem is usually that the message is too broad.
The most useful AI role at this stage is not "write everything for me." It is helping you generate hooks, rewrite weak sections, and produce alternate versions of the same message. Draft the story, then read it out loud. If it sounds stiff, overlong, or too abstract, tighten it before moving into production.
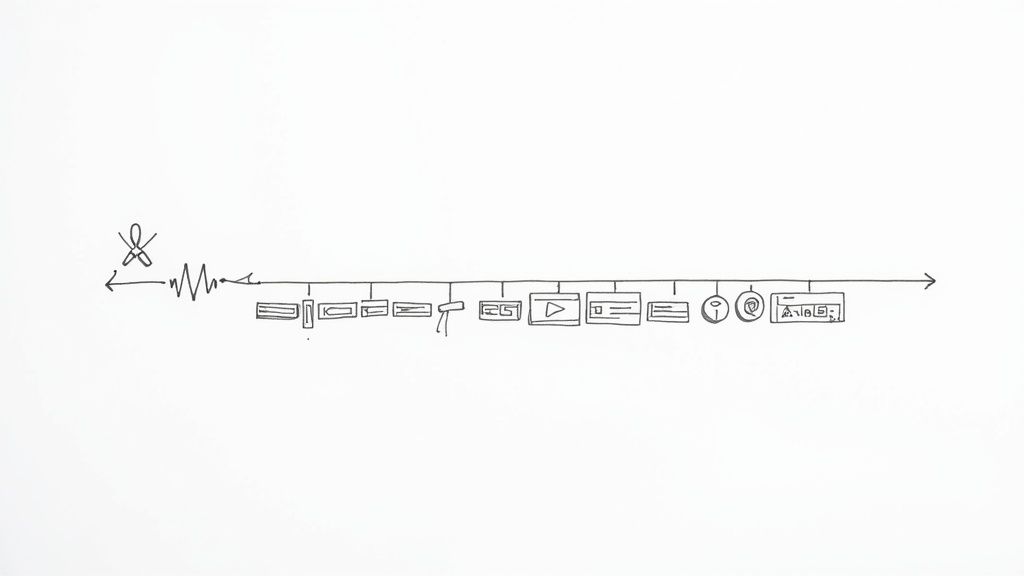
4) Turn the Script Into a Simple Storyboard
A storyboard does not need to be polished. It only needs to answer one question for every line of the script: what is the audience seeing while they hear this?
This step prevents a common production mistake: beautiful visuals that do not actually support the narration. When the voiceover says the user is overwhelmed, the scene should show that frustration clearly. When the product removes friction, the scene should show the shift immediately.
A practical storyboard can be as simple as:
- Scene goal
- Voiceover line
- Visual description
- Camera idea or framing
- On-screen text if needed
Once you have that, each visual description becomes the basis for an AI generation prompt. That gives the production process structure instead of turning it into random trial and error.

5) Use AI Production for Speed, Not for Guesswork
AI makes explainer video production faster, but it does not replace direction. The quality of the result still depends on the clarity of the prompt and the strength of the plan behind it.
For a practical workflow:
- Use Text to Video when you need to explore a concept or generate a new scene from scratch.
- Use Image to Video when you already have frames, mockups, or brand visuals that need motion.
- Use Video to Video when a draft scene needs visual consistency, stronger style control, or another pass.
Prompt quality matters. "A person at a desk" is too vague. A stronger prompt defines subject, emotion, setting, style, and motion, such as: frustrated freelancer at a cluttered desk, flat 2D style, cool blue palette, fast cuts, phone notifications building pressure. That level of detail gives the model useful creative constraints.
You should also expect iteration. The first generation is a first take, not the final scene. Adjust pacing words, framing, and emotional cues until the sequence supports the script rather than distracting from it.
6) Polish the Edit, Audio, and Export
Many explainer videos fail in post-production, not in concept. The message may be strong, but weak pacing or weak audio makes the final piece feel amateur.
During editing, focus on:
- Removing dead space at the start and end of clips
- Keeping transitions simple and unobtrusive
- Matching visual changes to the narration rhythm
- Cutting anything that slows comprehension
Audio deserves even more attention than many beginners expect. Viewers will tolerate modest visuals before they tolerate unclear sound. The voiceover should always be easy to understand. Background music should support the mood without competing with the message. If you need to reshape or extend the audio layer after the visual cut, Video to Audio can help support that workflow.
Export should match the platform. A homepage explainer, a YouTube upload, and a vertical social clip should not all be treated the same. Decide the destination early so your framing, runtime, and aspect ratio are aligned from the start.
7) Optimize for Conversion After the Video Is Finished
A well-made explainer video can still underperform if the packaging around it is weak. Conversion does not come only from the video itself. It also comes from where the video appears, what headline surrounds it, and what action sits next to it.
After production, review:
- The page headline above the video
- The CTA button near the player
- Thumbnail clarity if the video is distributed off-site
- Captions for silent autoplay environments
- Title and description if the video will rank in search or live on YouTube
Shorter social placements usually need faster hooks and earlier branding. Homepage explainers can take a little more time, but they still benefit from disciplined structure. In both cases, clarity wins over complexity.
Conclusion
If you want to learn how to create explainer videos that convert, do not start with animation effects or editing tricks. Start with the audience, the problem, and the action you want the viewer to take. Then write a short script, storyboard the message, generate or refine visuals with clear prompts, and polish the final cut so every second earns its place.
That process is what turns an explainer video from a nice-looking asset into a working sales and education tool.
Next Step
Choose one offer, write a 60 to 90 second problem-solution script, and build a first pass with Text to Video or Image to Video. Review the draft against one question only: does the viewer immediately understand what changes for them?
FAQs
1) What is the best length for an explainer video?
For most landing pages and product explainers, 60 to 90 seconds is the safest range. It is usually long enough to explain the offer without losing attention.
2) What is the biggest mistake in explainer videos?
Trying to explain too many things at once. When the message is overloaded, the audience leaves without remembering the main promise or the CTA.
3) Do I need a storyboard for a short video?
Yes. Even a rough storyboard helps align the visuals with the narration and reduces wasted production time.
4) Can AI tools make professional explainer videos?
Yes, but only when the script, prompts, and review process are strong. AI speeds up production; it does not fix weak messaging.
5) What matters more, visuals or audio?
Both matter, but bad audio usually hurts performance faster. A clear voiceover and controlled music mix make the whole video feel more trustworthy.