Categories: AI Video Workflow, Creator Strategy, Production Process
Tags: storyboard, shot list, video planning, script breakdown, seeddance, seedance 2.0
Introduction
Before the camera starts rolling, the most important work is often the planning you do in advance. A storyboard turns a script into a visual plan: what the viewer sees, how each shot connects, and what needs to happen for the story to land.
If you have ever reached the edit and realized you are missing a key shot, a storyboard is the fix. It helps you spot gaps early, align with collaborators, and keep production focused when time is tight.
1) What a storyboard is (and what it is not)
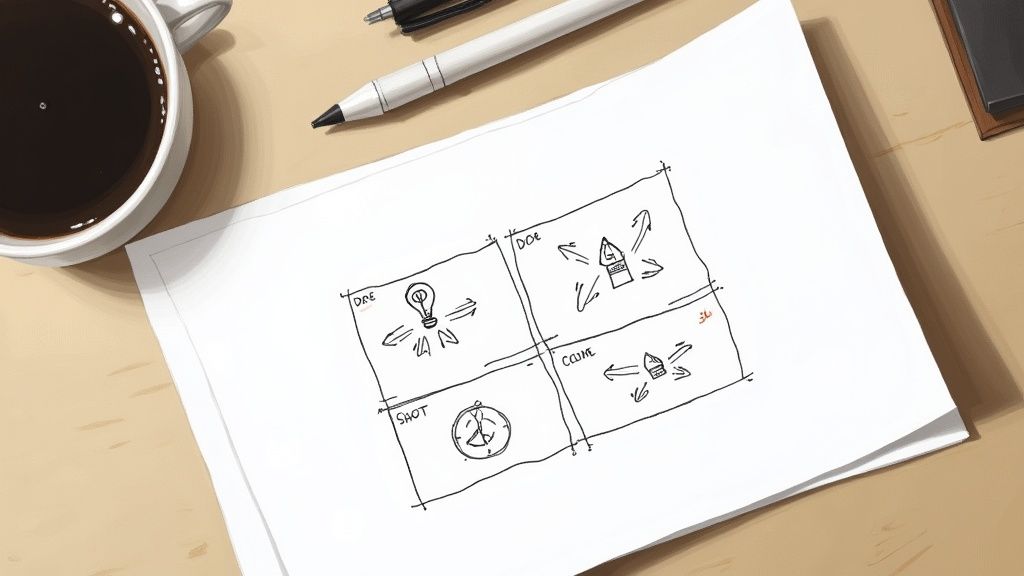
A storyboard is a sequence of frames (panels) that show the key moments of a video in order. Each panel usually includes a rough sketch (or reference image) plus notes about action, camera, audio, and timing.
It is not an art project. Clean stick figures, arrows, and labels are enough. Your goal is clarity: making the story and the shot plan easy to understand at a glance.
2) Set the foundation before you draw a frame
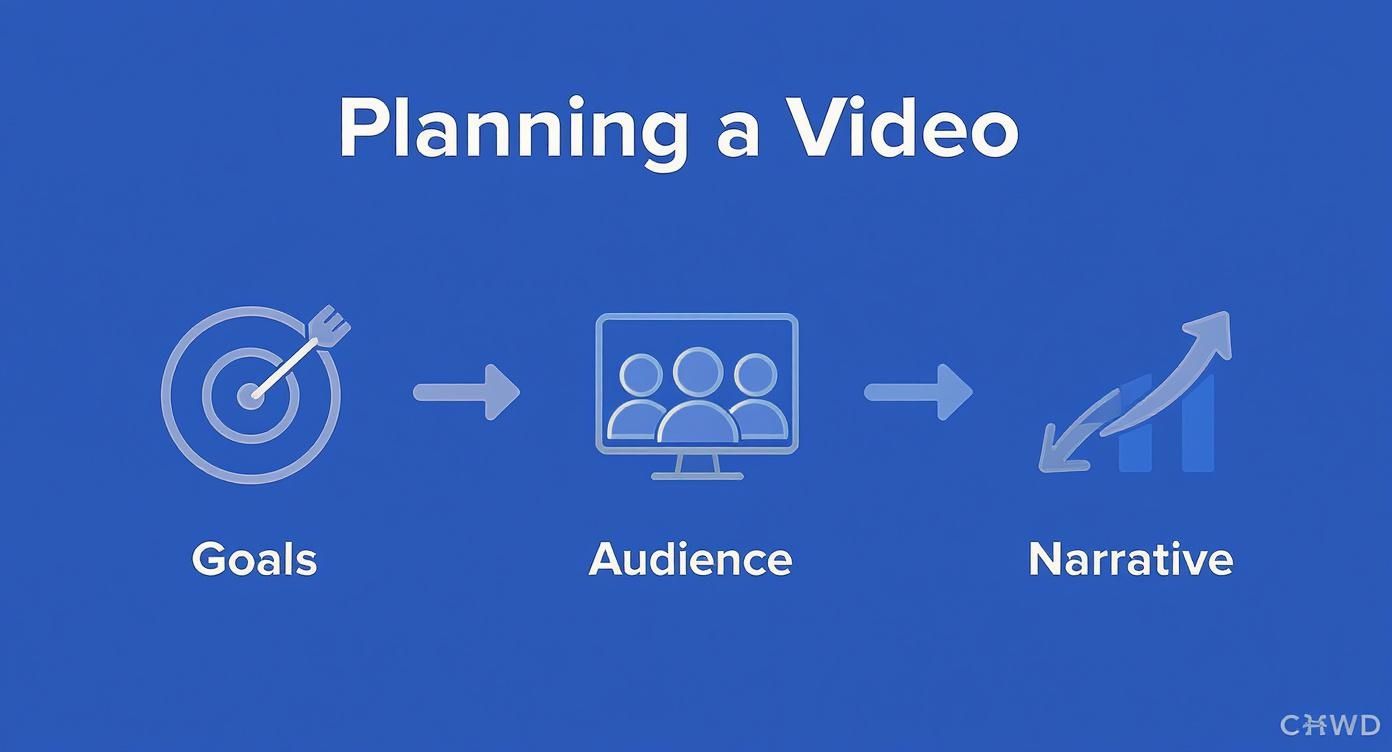
Strong storyboards start with constraints. Answer these first, even if you are working solo:
- Goal: What should the viewer do or believe after watching?
- Audience: What do they already know, and what will confuse them?
- Format: Where will it be watched (feed, landing page, YouTube), and what aspect ratio?
- Length: A target duration forces focus.
- Style: Live action, motion graphics, screen recording, AI-generated scenes, or mixed.
When these are clear, your storyboard decisions become much easier: shot choices serve the goal instead of being random.
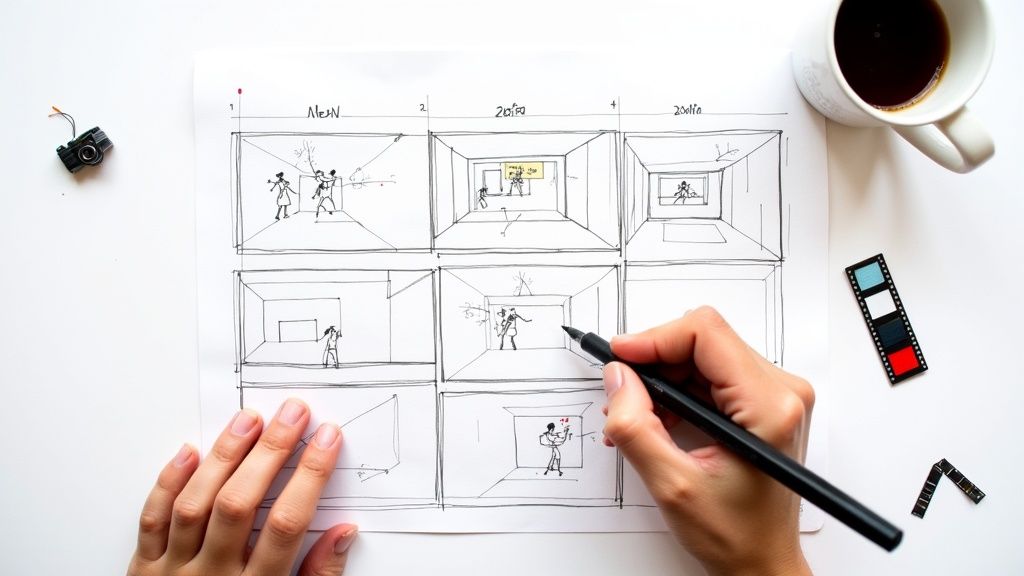
3) Break your script into visual beats
Treat your script as a list of moments, not paragraphs. A good “beat” is something you can show visually.
A simple way to do this:
- Read the script once for flow.
- On the second pass, mark every line that needs a visual.
- Convert each marked line into a beat with a clear subject and action.
If one line contains multiple actions (or a change in emotion), split it into multiple beats. You want each panel to communicate one main idea.
4) Choose the right storyboard “fidelity”
Not every project needs a detailed storyboard. Pick the level that matches your risk and complexity:
- Thumbnail storyboard (fast): rough frames for structure and pacing.
- Shot-by-shot storyboard (standard): frames plus camera notes and timing.
- Storyboard + animatic (detailed): timed sequence (often with temp audio) to test pacing before production.
If you are working with clients or a team, “standard” is usually the best tradeoff: clear enough to prevent surprises, fast enough to iterate.
5) What to include in each panel
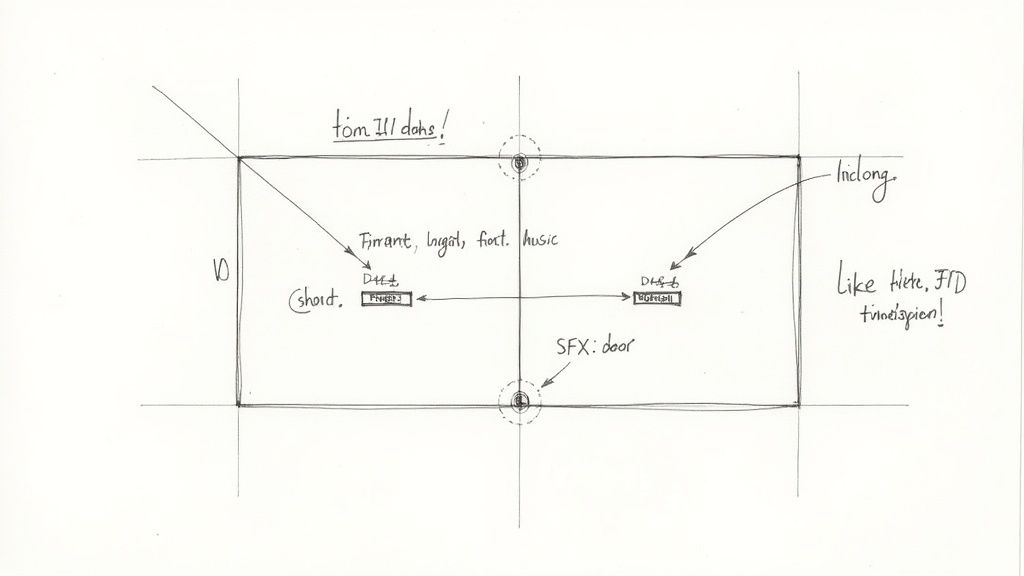
At minimum, each panel should answer: what do we see, what do we hear, and how do we transition?
A practical panel checklist:
- Shot type: wide, medium, close-up, over-the-shoulder, screen capture, etc.
- Camera: angle, movement (pan/tilt/dolly), and framing notes.
- Action: what changes in the frame (movement, gesture, reveal).
- On-screen text: if any (especially for short-form).
- Audio: dialogue, VO, SFX, music cue.
- Timing: rough duration (even “~2s” helps).
- Notes: props, location, assets, links, or constraints.
If you want a quick template you can copy into a doc or sheet, use this:
| # | Time | Visual | Camera | Audio | On-screen text | Notes |
|---|---|---|---|---|---|---|
| 1 | 0:00–0:02 | |||||
| 2 | 0:02–0:05 |
6) Turn the storyboard into a shot list (and a checklist)
A storyboard helps you think like an editor. A shot list helps you execute like a producer. Once your panels are in place:
- List every shot you must capture or generate.
- Group shots by location, setup, or style to reduce switching costs.
- Add an asset list (graphics, B-roll, screenshots, logos).
- Confirm you have coverage for key moments: hook, proof, payoff, CTA.
7) Common storyboarding mistakes (and how to avoid them)
These issues cause the most rework later:
- No timing: add rough seconds per beat so pacing problems show up early.
- Unclear continuity: track screen direction, props, and character positions between panels.
- Too many “cool shots”: every shot should serve clarity or emotion, not just style.
- Missing transitions: label cuts, match-cuts, wipes, or on-screen text changes.
- Skipping the CTA: storyboard the ending as carefully as the hook.
8) Using Seedance 2.0 with a storyboard
If you generate scenes with AI, a storyboard is still your best control system. Use each panel as a mini-brief:
- Convert Visual + Camera + Action into a prompt (one panel, one prompt).
- Keep a small set of “style rules” consistent across panels (lighting, palette, lens feel).
- Iterate panel-by-panel instead of regenerating an entire video when one beat is weak.
When your plan is clear, it is easier to produce multiple variations quickly while keeping the message consistent.
Conclusion
Storyboarding is a small upfront cost that saves you from expensive confusion later. Keep it simple, focus on clarity, and use timing and transitions to make the final edit feel inevitable instead of improvised.
Next step: build your scenes with a consistent workflow at https://seeddance.app/
FAQs
1) Do I need to be good at drawing to storyboard?
No. Boxes, stick figures, arrows, and labels are enough. The notes matter more than the sketch quality.
2) How detailed should a storyboard be?
Make it as detailed as the risk requires. More stakeholders, more complexity, or less time to reshoot means you should be more specific.
3) What tools can I use to storyboard?
Any tool works if it is fast for you: paper, slides, a spreadsheet, a drawing app, or a storyboard-specific tool. Choose the one that helps you iterate quickly.